Reframing 360 Footage in GoPro Player: Keyframes, World Lock and Clean Exports
A 360 file is raw material, not a finished shot. This is how to direct the virtual camera inside GoPro Player — keyframes, World Lock, field of view and exports that look intentional.
Recording with a 360 camera changes the order of filmmaking. Instead of deciding where to point the lens while you are riding, skiing or walking through a city, you capture everything and decide later. GoPro Player is where "later" happens for MAX-series footage. Its Reframe tool lets you place a virtual camera inside the sphere, move it with keyframes, and export the result as an ordinary flat video that plays anywhere. Done well, viewers never guess the shot came from a 360 camera. Done badly, it looks like someone dragging a mouse around a panorama. This guide covers the difference.
What Reframe actually does
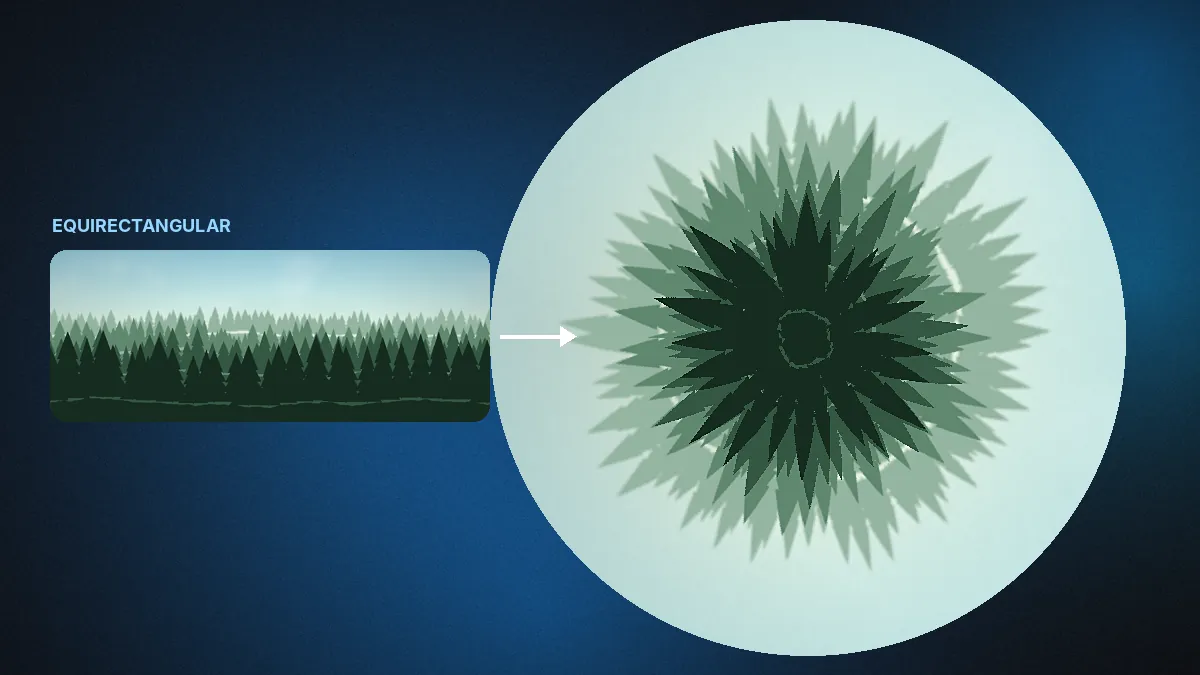
A MAX camera records two hemispherical images and stitches them into a full sphere. On a computer that sphere is stored as an equirectangular image — a stretched, map-like rectangle where the top and bottom edges represent straight up and straight down. Watching it raw is disorienting.
Reframe gives you a window into the sphere with four properties you control over time:
- Direction (pan and tilt) — where the virtual camera points.
- Roll — rotation of the frame around the viewing axis.
- Field of view (zoom) — how wide the window is, from a tight natural lens to an extreme wide or a "tiny planet" projection.
- Aspect ratio — 16:9 for YouTube, 9:16 for vertical platforms, 1:1 and others.
Keyframes record those values at chosen moments, and Player interpolates between them. That is the whole system, and it is enough to produce surprisingly sophisticated camera work.
Start with World Lock
Before setting a single keyframe, decide how the sphere itself should behave. A 360 camera on a helmet or pole rotates constantly as you move your head or turn corners. World Lock uses the camera's motion data to hold the sphere's orientation steady relative to the world, so "forward" stays pointed in one direction even as the camera spins.
- World Lock on is ideal for walking tours, scenic views and any shot where you want stable compass directions. Your keyframed moves become deliberate rather than fighting the camera's own rotation.
- World Lock off lets the view follow the camera. That is useful for riding footage where you want the shot to turn with the bike, or ski runs where the view should follow the line.
GoPro describes World Lock as a way to set orientation and minimize rotation in post. Note that HyperSmooth Pro is not available for 360 content, so World Lock and the camera's own 360 stabilization are your tools for steady MAX footage.
Plan the shot before you keyframe
Play the whole clip once without touching anything. Note where the interesting things happen: a rider passing, a view opening up, a friend reacting. Then sketch a simple plan:
- Opening framing — usually forward-facing, establishing where you are.
- The moment worth turning for — what direction and when.
- The return or the reveal — back to forward, or a dramatic wide shot.
Three or four keyframes per twenty seconds is a good starting density. Too many keyframes make the camera feel nervous.
Setting keyframes in Player
The workflow is consistent across Player versions, even as the interface evolves:
- Open a 360 clip and enter the Reframe tools.
- Move the playhead to the start and frame your opening view by dragging inside the viewer. Adjust field of view.
- Add a keyframe.
- Move the playhead to the next moment, reframe, and add another keyframe.
- Play back. Player animates between keyframes automatically.
- Adjust timing by moving keyframes along the timeline; delete any that feel unnecessary.
Spend most of your time on timing, not angles. A pan that starts half a second earlier often looks dramatically more professional.
Camera moves that work
The slow reveal
Start tight and forward-facing, then widen the field of view and tilt up as a landscape opens. Slow and gradual — four or five seconds for the move.
The look-back
Turn the view 180 degrees to show a friend following, then return forward. Keep the turn quick (around one second) and the hold long; viewers need time to register what they are seeing.
The whip transition
A very fast pan across a short gap, cut between two directions. Set two keyframes a few frames apart with a large angle change. The motion blur sells it as a deliberate transition.
The tiny planet
Push the field of view to its widest and point the virtual camera straight down. The ground curls into a small planet with the sky around it. It is a striking opener or closer, but used repeatedly it becomes a gimmick — one per video is usually enough.
The invisible selfie stick
MAX cameras stitch out a straight selfie stick, so pointing the view back at yourself creates a third-person, drone-like shot. Keep the stick in line with the camera's stitch zone for the cleanest result.
Field of view: the setting that makes or breaks realism
Very wide fields of view distort straight lines and make everything look far away. Narrow fields of view throw away resolution, because you are cropping a small part of the sphere.
| Look | Field of view | Use for |
|---|---|---|
| Natural / cinematic | Narrow to medium | Talking heads, details, city scenes |
| Action wide | Medium to wide | Riding, skiing, POV energy |
| Ultra wide | Very wide | Big landscapes, establishing shots |
| Tiny planet | Maximum, pointed down | Openers, transitions, closers |
Remember that 360 resolution is spread across the whole sphere. A 5.6K 360 file reframed to a narrow 16:9 window delivers far fewer real pixels than a 5.3K HERO clip of the same scene. Medium fields of view are a sensible compromise for most exports.
Grabbing stills from 360 video
Frame Grab works on reframed footage too. Pause on any frame, frame it the way you want, and save a full-resolution still. Because every direction is recorded, you can pull several completely different photos from a single moment — a forward landscape, a portrait of your companion and a tiny planet, all from the same frame.
Exporting reframed footage
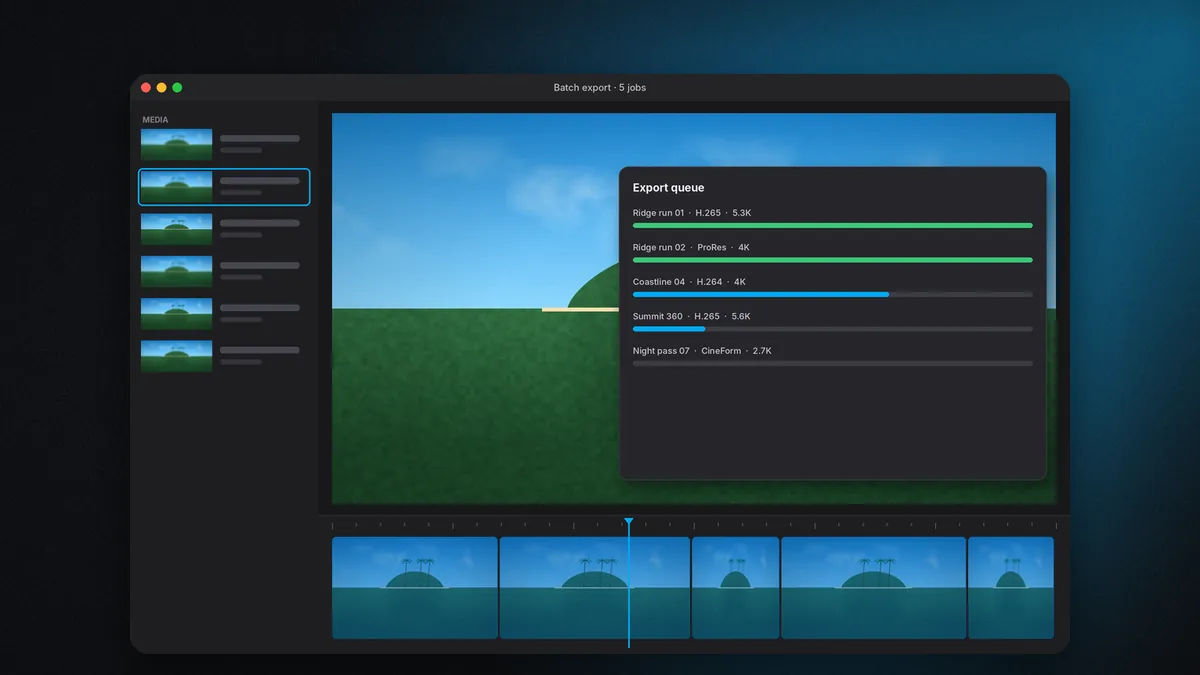
When the camera work is done, export from Player or send the clip to the batch queue. Choose settings based on where the video is going:
- Straight to social: H.264 or H.265 at the platform's target resolution, in the aspect ratio you framed for.
- Into an editor for more work: a high-quality intermediate such as ProRes on Mac or CineForm, which keeps quality during further grading and cutting.
- As a 360 file: if you want an interactive 360 video for platforms that support it, export the full sphere instead of a reframed view.
Player 3.3 and newer can also export 2D and 360 footage using Apple Projected Media Profile for viewing on Apple Vision Pro, provided you are running macOS 26 and the headset runs visionOS 26. Our batch export guide covers codecs and bitrates in more detail.
Shooting 360 with reframing in mind
Good reframing starts when you press record. A few habits make the editing stage far easier:
- Keep the camera at a natural height. Eye level for walking footage, slightly above the helmet for riding. Very low or very high positions make reframed shots look odd.
- Mind the stitch zone. The seam between the two lenses runs around the sides of the camera. Keep important close-up subjects in front of a lens rather than on the seam.
- Give subjects some distance. Objects very close to the camera exaggerate stitching artifacts and distortion. A metre or more is safer.
- Hold the camera still at key moments. Even with World Lock, a calm few seconds gives you room to place a slow, cinematic move.
- Record a little longer. Extra seconds before and after the action give keyframed moves room to ease in and out.
Pacing and sound for reframed edits
Because reframing lets you create camera moves anywhere, it is tempting to move constantly. Edits feel better when moves are motivated: turn because something happens, not because you can. Music helps here. Placing keyframes so that turns land on beats gives a reframed edit a deliberate rhythm that viewers notice even if they cannot say why. Natural sound — wind, footsteps, voices — also anchors the viewer when the picture moves, so keep it under the music rather than replacing it entirely.
Common mistakes and quick fixes
- Seasick footage: too many keyframes or moves that are too fast. Delete half the keyframes and lengthen the rest.
- Constant drifting: World Lock is off on footage that needs it. Turn it on and re-check your framing.
- Visible stitch line: the view is pointed across the seam between lenses, often with nearby objects. Shift the framing slightly or keep close subjects in front of one lens.
- Soft, low-detail export: the field of view is too narrow for the source resolution. Widen it a little.
- Tilted horizon: roll crept in through a keyframe. Reset roll to level on each keyframe.
Reframing on a phone instead
GoPro's mobile app, Quik, also reframes MAX footage, which is handy for quick shares straight from the trail. Desktop reframing in Player is more precise, works better with long clips, and offers higher-quality export codecs. Many MAX owners do quick social edits on the phone and save the best material for Player at home. Our guide to Android and online options explains how the two fit together.
A practical routine
The 360 routine that works: copy footage to an SSD → watch each clip once → decide World Lock on or off → set three or four keyframes per twenty seconds → check field of view against resolution → grab stills from the best moments → batch export in the format your destination needs.
Once reframing feels natural, a single MAX recording can replace two or three cameras on a shoot. That is the real value of the tool: not the novelty of 360, but the freedom to choose your framing after the moment has passed.