Batch Export in GoPro Player: Codecs, Presets and Settings That Hold Up
The export screen is where good footage gets quietly ruined or saved. A practical guide to codecs, resolution, bitrate and the batch queue — with presets for social, editing and archive.
Stabilization and reframing get the attention, but export is where your work becomes a file somebody can actually watch. Choose the wrong codec and an editor struggles to scrub it; choose the wrong bitrate and a carefully stabilized forest run turns into smeared blocks on YouTube. GoPro Player's batch export system is powerful enough to process an entire SD card unattended, which makes getting the settings right once especially valuable. This guide explains each choice and gives presets you can copy.
What batch export does
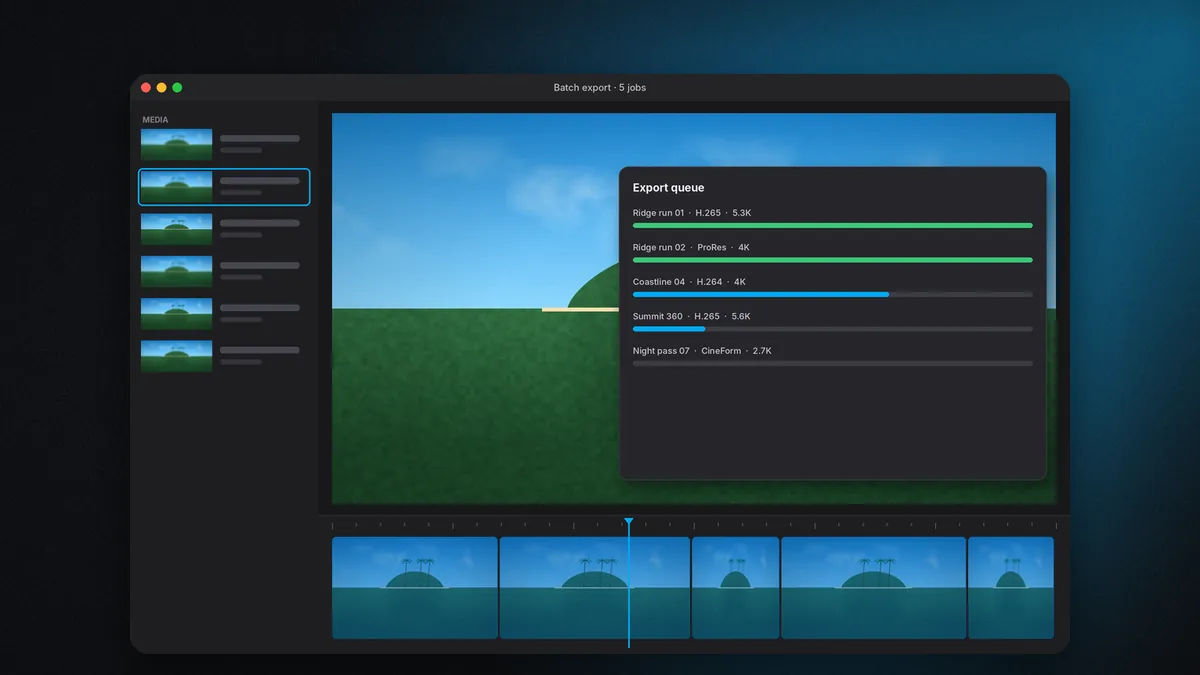
When GoPro introduced GoPro Player + ReelSteady in 2022, batch export arrived alongside it. The idea is simple: rather than exporting clips one at a time and waiting for each, you add them to a queue, each with its own settings, and Player renders them in sequence. GoPro describes it as queueing up work so you can step away and let the jobs run in one go. Key abilities:
- Queue many clips — hundreds, if you like.
- Apply different settings to each job.
- Save presets and reuse them.
- Manage the queue: reorder, remove and monitor progress.
Your stabilization, reframing and trim decisions travel with each clip into the queue, so the rendered files reflect everything you set.
Understanding the codec choices
Player supports export to H.264, H.265 (HEVC), Apple ProRes and CineForm. They serve very different purposes.
| Codec | File size | Editing performance | Best for |
|---|---|---|---|
| H.264 | Medium | Good | Maximum compatibility, quick sharing, older devices |
| H.265 / HEVC | Small | Fair (heavy to decode) | High-resolution delivery, saving space, modern platforms |
| Apple ProRes | Very large | Excellent | Editing and grading, especially on Mac |
| CineForm | Large | Excellent | Editing intermediates on Windows and Mac |
H.264
The universal format. Every phone, browser, TV and editor plays it. It is less efficient than H.265, so files are larger for the same quality, and it is a poor fit above 4K. Choose it when compatibility matters more than anything else.
H.265 (HEVC)
Roughly comparable quality to H.264 at significantly smaller file sizes, and better suited to 4K and above. The cost is decoding effort: older computers and some editors struggle to scrub HEVC smoothly. Choose it for delivery and archiving finished clips.
Apple ProRes
An editing codec: files are huge, but every frame is easy to decode, so timelines scrub smoothly and colour grading has more data to work with. Ideal when Player is the first step before Final Cut Pro, DaVinci Resolve or Premiere Pro, especially on a Mac.
CineForm
GoPro's own intermediate codec, similar in purpose to ProRes, with long-standing support on both Windows and Mac. A strong choice for Windows users who want ProRes-like editing performance.
Resolution: match, do not inflate
Player exports at the same or lower resolution than the recording; it does not upscale. Keep these points in mind:
- Stabilization crops the frame. A heavy HyperSmooth Pro setting means the stabilized picture contains fewer original pixels than the source. Exporting at full source resolution is still fine, but expect some softness at high crop values.
- Reframed 360 has lower effective resolution. A narrow view from a 5.6K sphere does not hold true 5.3K detail. Exporting reframed footage at 4K or even 2.7K often looks just as sharp and saves space.
- Match the destination. Most social platforms display at 1080p or 4K. Exporting 5.3K for Instagram adds upload time and nothing else.
Bitrate: where quality really lives
For H.264 and H.265, bitrate determines how much data describes each second of video. Too low and detailed scenes — foliage, water, snow, gravel — break into blocks. Action footage is among the hardest material to compress, so it needs more bitrate than talking-head video.
General guidance for GoPro-style action content:
- Social upload, 1080p: moderate bitrates are fine; platforms re-encode everything anyway.
- YouTube 4K: err on the high side. Uploading a high-quality master gives YouTube's own encoder more to work with.
- Archive: generous bitrate in H.265, or an intermediate codec if storage allows.
If Player offers a quality slider or preset instead of a numerical bitrate in your version, choose the high-quality option for anything other than quick previews.
Five presets worth saving
1. "Quick share"
H.264 · 1080p · standard quality · source frame rate. For messaging apps and fast social posts.
2. "YouTube master"
H.265 · 4K · high quality · source frame rate. Smaller uploads, excellent quality on YouTube's 4K tiers.
3. "Edit — Mac"
ProRes · source resolution (or 4K) · source frame rate. Smooth editing in Final Cut Pro and Resolve.
4. "Edit — Windows"
CineForm · source resolution (or 4K) · source frame rate. Smooth editing in Premiere Pro and Resolve on PCs.
5. "Archive"
H.265 · source resolution · high quality. Space-efficient long-term storage of finished stabilized clips.
Frame rate: leave it alone
Export at the frame rate you recorded unless you have a specific reason. If you shot 60 fps to slow down later in an editor, keep 60 fps — or export to an intermediate and conform in the editor. Converting frame rates during export rarely helps and can introduce judder.
Running the batch queue efficiently
- Organize first. Sort clips into folders by day or location before you start, so exports end up organized too.
- Settle one clip, then apply widely. Dial in stabilization and export settings on a representative clip, save a preset, and apply it to the rest.
- Spot-check early. Let the first job finish and open the file before leaving the queue running overnight. A wrong setting caught early saves hours.
- Export to a separate drive. Reading and writing the same disk slows both operations.
- Prevent sleep. Set your computer to stay awake while plugged in, or the queue will pause when the display sleeps.
- Watch free space. ProRes and CineForm fill drives fast; a full disk mid-queue fails the remaining jobs.
Estimating storage for intermediates
Editing codecs trade size for performance. A rough sense of scale helps you plan: an hour of 4K ProRes 422 can occupy several hundred gigabytes, while the same hour in H.265 might fit in a few tens of gigabytes. CineForm sits in a similar range to ProRes depending on quality setting. If you only need to make cuts, a high-bitrate H.264 or H.265 file may be enough; save intermediates for projects you plan to grade heavily.
Exporting for Apple Vision Pro
From Player 3.3, 2D and 360 footage can be exported using Apple Projected Media Profile. APMP projects GoPro's wide-angle footage accurately for viewing on Apple Vision Pro, preserving the immersive field of view. It requires macOS 26 on the Mac doing the export and visionOS 26 on the headset.
Naming and folder conventions
Batch export can produce hundreds of files in one session, and GoPro's own file names (GX010442.MP4 and similar) say nothing about content. A naming convention saves real time later:
- Create an output folder per shoot:
2026-10-12_coast-ride/exports. - Keep the original clip number in the export name so you can trace it back to the source.
- Add a short tag for the preset:
_yt4k,_prores,_archive. - Separate deliverables from intermediates, so you never upload a ProRes file by mistake or delete one you still need for grading.
Flat and log colour profiles
Recent HERO cameras offer flat colour and log profiles designed for grading. Footage recorded this way looks washed out until it is graded, and it contains subtle tonal information that heavy compression can destroy. If you shoot flat or log, export to ProRes or CineForm from Player and grade in your editor, rather than exporting directly to H.264. Banding in skies and shadows is the first sign that a log clip has been squeezed too hard.
Audio considerations
Player exports audio with the video, so there is little to configure, but a couple of points matter. Wind noise and engine roar are common on action footage; they are best handled in an editor rather than in Player. If you intend to replace the audio entirely with music, the export codec you choose makes no difference to the soundtrack. If you rely on original sound, keep it at the source quality by using an intermediate codec for the edit, then compress only in the final delivery render.
Checking an export before trusting the preset
Open the first finished file in a different player from the one you exported with, ideally on the device where it will be watched. Look at three things: fine detail in busy areas such as leaves or gravel, smooth gradients such as skies, and motion during the fastest section. If all three hold up, the preset is ready for the whole queue. If any of them fails, adjust quality or codec now, while only one clip has been rendered.
Troubleshooting exports
The export is softer than the preview
Raise the bitrate or quality setting, or check whether heavy stabilization crop is reducing detail.
Exported clips stutter in my editor
Your editor is struggling to decode H.265. Re-export as ProRes or CineForm, or use your editor's proxy workflow.
The queue stopped overnight
Usually sleep settings or a full disk. Check both, then resume or re-queue the remaining clips.
Some clips export without stabilization
They may come from unsupported modes or cameras — see the camera support table in our HyperSmooth Pro guide.
Export rule of thumb: deliver in H.264 or H.265 at the destination's resolution, edit from ProRes or CineForm, archive in high-quality H.265 — and let the batch queue do the waiting for you.
If you fly FPV, pair these presets with our FPV stabilization workflow for a complete card-to-upload routine.