FPV Footage in GoPro Player: A Complete Stabilization Workflow for Drone Pilots
Gyro stabilization was born in the FPV community. This workflow covers everything from camera settings on the quad to HyperSmooth Pro settings and exports that make flights look effortless.
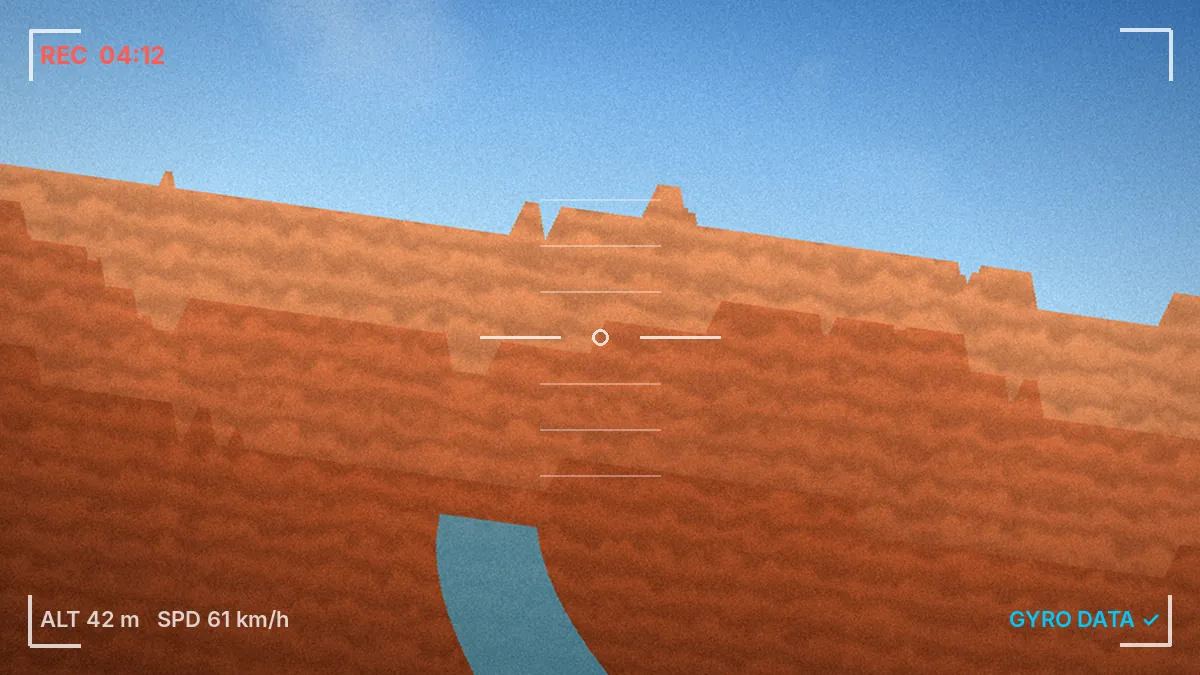
If any group of people made gyro-based stabilization famous, it was FPV pilots. ReelSteady was built to tame footage from GoPro cameras strapped to racing and freestyle quads, and when GoPro folded it into GoPro Player, FPV was the first audience it named. Today the tool is called HyperSmooth Pro, but the job is the same: take footage shaken by props, motors and aggressive flying, and make it look like it was shot from a cinema rig. This guide walks through a complete workflow — from settings on the quad to the final export.
Why FPV footage needs desktop stabilization
FPV footage has three problems that in-camera stabilization handles imperfectly:
- High-frequency vibration from motors and props, which causes jello and micro-jitter.
- Violent rotation in flips, rolls and power loops that exceeds what a camera can correct in real time without heavy cropping.
- The need for a wide field of view to convey speed — exactly the margin in-camera stabilization eats into.
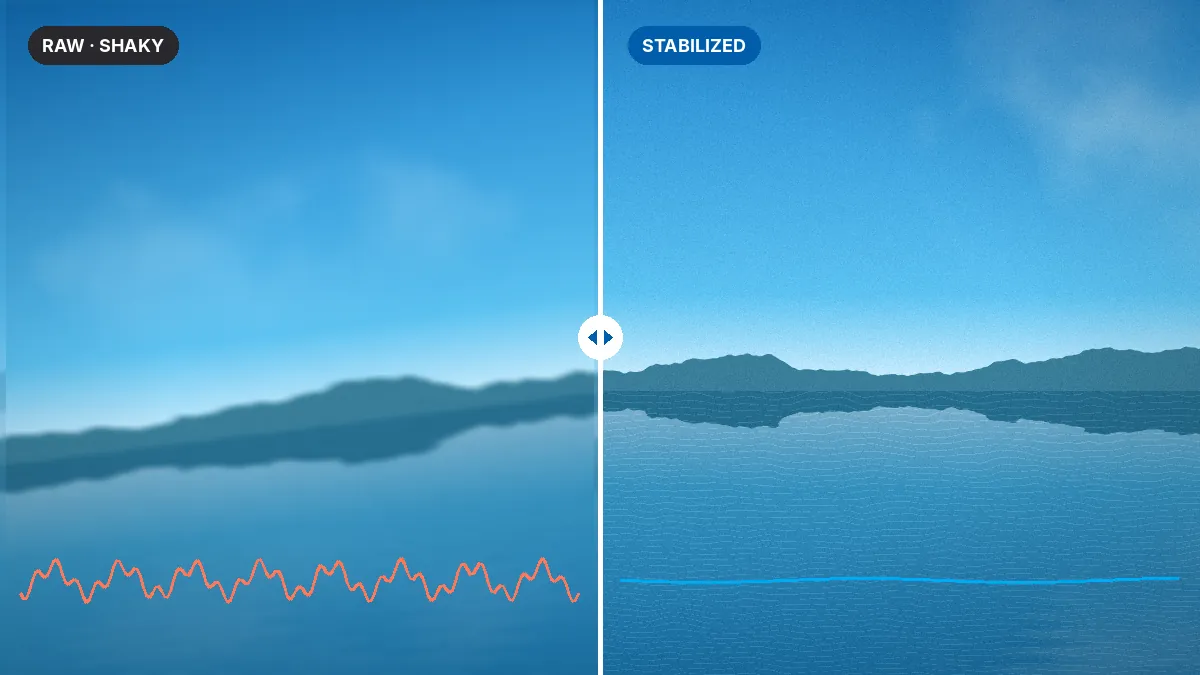
Desktop stabilization in Player reads the camera's gyro data after the flight. It can look ahead, plan the smoothest path and keep more of the frame, all while letting you adjust the result clip by clip.
Step 1: Choose and mount the camera
HyperSmooth Pro supports all video modes on HERO8 and newer, including the HERO11 Mini, which is popular on mid-size quads because of its weight. Older HERO5–HERO7 cameras work only with in-camera stabilization off. GoPro's HERO10 Black Bones, a stripped-down camera made specifically for FPV, shipped with the Player + ReelSteady license in some regions.
Mounting matters more than many pilots expect:
- Use a soft-mounted or TPU mount to absorb motor vibration before it reaches the camera.
- Make sure the camera is held firmly; a loose mount produces wobble that no software can untangle cleanly.
- Balance and inspect props. Damaged props create vibration that shows as jello.
- Choose a camera tilt angle that suits your flying speed, so the horizon sits naturally in frame during cruise.
Step 2: Camera settings for stabilization
Lens / digital lens
Use the widest lens mode available: Wide, SuperView or HyperView on newer cameras. More picture around the edges means more room for stabilization and less visible crop.
In-camera stabilization
HERO8 and newer can be stabilized in Player with HyperSmooth on, but most FPV pilots record with it off. Turning it off preserves maximum field of view and gives the desktop stabilizer the cleanest data to work with. If you also want usable footage straight from the camera — for quick previews — test both on your own quad.
Resolution and frame rate
Higher resolution gives more detail to survive the crop. 4K or higher at 60 fps is a common choice, giving smooth motion and the option of slowing clips down in an editor. If your camera offers a taller aspect ratio, like 8:7 on recent HERO cameras, it provides extra vertical room for the stabilizer.
Shutter and ND filters
Once footage is stabilized, the shake disappears but motion blur stays. In bright light, auto exposure picks very fast shutter speeds that produce crisp, slightly stuttery frames. Many cinematic pilots use ND filters to bring shutter speed closer to double the frame rate — around 1/120 s at 60 fps — for natural blur. Freestyle pilots often prefer crisp frames. Pick one look and keep it consistent across a flight.
Step 3: Offload and organize
Copy files from the SD card to a fast SSD. Work from the copies, not the card. Sort flights into folders by date and location, and delete obvious crash-on-takeoff clips before importing, so the batch queue only processes footage worth keeping. Our Windows setup guide explains why storage speed affects stabilized playback.
Step 4: Set HyperSmooth Pro for the flight style
Open a clip in Player and enable HyperSmooth Pro. Scrub to the roughest section — usually a hard turn or a flip — and set your values there. Because the preview is live, you can judge the result immediately.
| Flying style | Smoothness | Horizon | Lens correction |
|---|---|---|---|
| Cinematic cruising, real-estate, long-range | High | Lock on | On |
| Chasing cars, bikes or boards | Medium–high | Lock on or partial | On |
| Freestyle with flips and rolls | Low–medium | Off | Optional |
| Racing and gap shots | Medium | Off | Off for maximum width |
Smoothness
Higher smoothness produces a floating, gimbal-like path. Push it too far on freestyle footage and flips lose their impact. Lower values keep the energy while removing jitter.
Horizon lock
Horizon lock holds the world level, which looks great for cruising and chases. For freestyle, turning it off is usually right: viewers should feel the roll as the quad banks into a turn.
Crop
Increase crop until black edges stop appearing during the hardest movement, then stop. Check calm sections afterwards; aggressive crop on a calm cruise wastes resolution.
Lens correction
Straightening the fisheye produces a more cinematic, less "action cam" look and pairs well with high smoothness. Freestyle and racing footage often keeps the fisheye for its sense of speed.
Step 5: Trim and grab stills
Trim takeoffs, landings and dead air at the frame level before export — there is no point stabilizing and rendering footage you will cut later. If a flight produced a striking moment, use Frame Grab to save a full-resolution still for thumbnails and social posts.
Step 6: Batch export
Once one clip looks right, apply the same settings to similar clips from the same flight and add everything to the batch queue. Recommended outputs for FPV:
- For a cinematic edit: ProRes (Mac) or CineForm (Windows or Mac) at source resolution, then cut and grade in your editor.
- For quick uploads: H.265 at 4K, high quality, source frame rate.
- For vertical social posts: stabilize first, then crop to vertical in your editor, or keep tall-aspect recordings for more flexibility.
See the batch export guide for codec trade-offs and preset ideas.
Troubleshooting FPV-specific problems
Wobble or jello remains after stabilization
This is usually physical vibration at a frequency the camera captures as rolling-shutter distortion. Check props, motor bells and the camera mount. Software can reduce it, but mechanical fixes solve it.
The horizon drifts during long flights
Gyro data accumulates small errors over time. Horizon lock combined with moderate smoothness helps. Splitting very long flights into separate clips can also help.
Stabilized footage looks too floaty
Lower smoothness. FPV should still feel like flight. A little residual movement keeps the sense of speed and intent.
Clip will not stabilize
Check camera support and shooting mode. HERO5–HERO7 clips need in-camera stabilization off at recording time, and TimeWarp, Time Lapse and HERO10/11 Tripod mode are not supported.
Preview stutters, especially on laptops
HyperSmooth Pro is demanding. Plug in, set a high-performance power mode, make sure Player is using the dedicated GPU, and remember that preview performance does not affect export quality.
Cinewhoops, long-range and other special cases
Cinewhoops and indoor flights
Ducted cinewhoops fly slowly through tight spaces, often indoors, and carry cameras close to the frame. The footage benefits from high smoothness and horizon lock, because viewers expect the floating feel of a gimbal shot. Light levels indoors are lower, so shutter speeds fall and motion blur increases; stabilizing a blurred frame can make the blur more noticeable. Add light where you can, or accept a slightly lower smoothness that leaves some natural movement to explain the blur.
Long-range cruising
Long flights over mountains or coastlines are mostly gentle with occasional gusts. Moderate smoothness avoids an artificial glide, and horizon lock keeps wide landscapes level. Because these clips can be very long, trim aggressively before export: render only the sections you will actually use.
Chase footage
When following a car, bike or skier, the subject should stay steady in frame while the background moves. Medium-to-high smoothness with lens correction gives a professional tracking look. Check the moments when the subject changes direction suddenly; too much smoothness can make the camera lag behind the action.
Grading after stabilization
Stabilize first, grade second. Colour work on a shaky clip is harder to judge, and exporting to an intermediate codec after stabilization gives your editor the most data to work with. If your camera records a flat or log colour profile, exporting to ProRes or CineForm preserves gradation that a heavily compressed H.264 file would band. Apply a consistent look across a flight so cuts between clips feel continuous.
Building a repeatable system
The pilots who produce the most footage with the least effort treat post-processing like a checklist rather than a creative decision each time. Save one HyperSmooth Pro configuration per flying style, name export presets clearly ("FPV cine ProRes", "FPV freestyle H.265"), and keep the same folder structure for every session: raw, stabilized exports, edit project, final renders. When the system is fixed, a full card from a day of flying can move from SD card to stabilized exports with only a few minutes of hands-on time.
A pre-flight and post-flight checklist
Before flying: props balanced · camera firmly soft-mounted · widest lens · in-camera stabilization off · consistent shutter (ND if cinematic) · 4K or higher. After flying: copy to SSD · trim · set HyperSmooth Pro on the roughest section · match settings across the flight · spot-check one export · batch the rest.
Done consistently, this routine turns a bag of shaky clips into footage that looks deliberate and expensive. It is the workflow that made ReelSteady famous — and it is exactly what GoPro Player with HyperSmooth Pro is built to do. For background on the tool itself, read GoPro Player + ReelSteady explained.